
Your first eSIM does not have to begin at the arrivals gate. A little preparation helps you understand what you are buying, keep your usual number and choose the right settings when you land. Follow this guide in order, with your phone and your chosen plan's instructions nearby. The menu names can vary; the instructions supplied with your particular eSIM take priority.
1. Check your actual phone
Check the exact model, regional version and carrier lock, rather than relying on the name of the phone family. Look for an option to add an eSIM in settings and consult the manufacturer's instructions. A phone bought in another market may differ from one with the same name sold locally.
Also check how many lines your phone can use at once. Keeping your home SIM does not make its calls, SMS or roaming free. Your operator's conditions still apply, including when you keep it active for verification messages. Resolve any compatibility doubt before paying.
Also read: what is an eSIM? →2. Choose for the whole trip
Compare the countries covered, total data or daily high-speed allowance, validity and price in your chosen currency. A regional plan may suit several stops, but check every country on your itinerary. For daily plans, read the speed after the high-speed allowance is used.
Check hotspot availability if another device needs internet. Review the activation rule: buying, installing a profile and connecting to a network are different events. Before payment, read the final total and applicable conditions, including help and refund eligibility. Do not assume all plans have the same rules.
3. Install with a stable connection
Use reliable Wi-Fi and open the instructions for the purchased eSIM. Install before departure only if its activation rule allows that timing. You may be offered a QR code, manual details or installation from the app; use the methods actually provided for your profile.
If the QR code is on the phone being set up, display it on another trusted screen, or use manual details or direct installation if offered. Label the new line clearly, such as Travel. Keep installation details private: they can contain credentials. Finishing the phone's setup screens is not, by itself, proof that the plan is active or connected.
4. Select your travel line on arrival
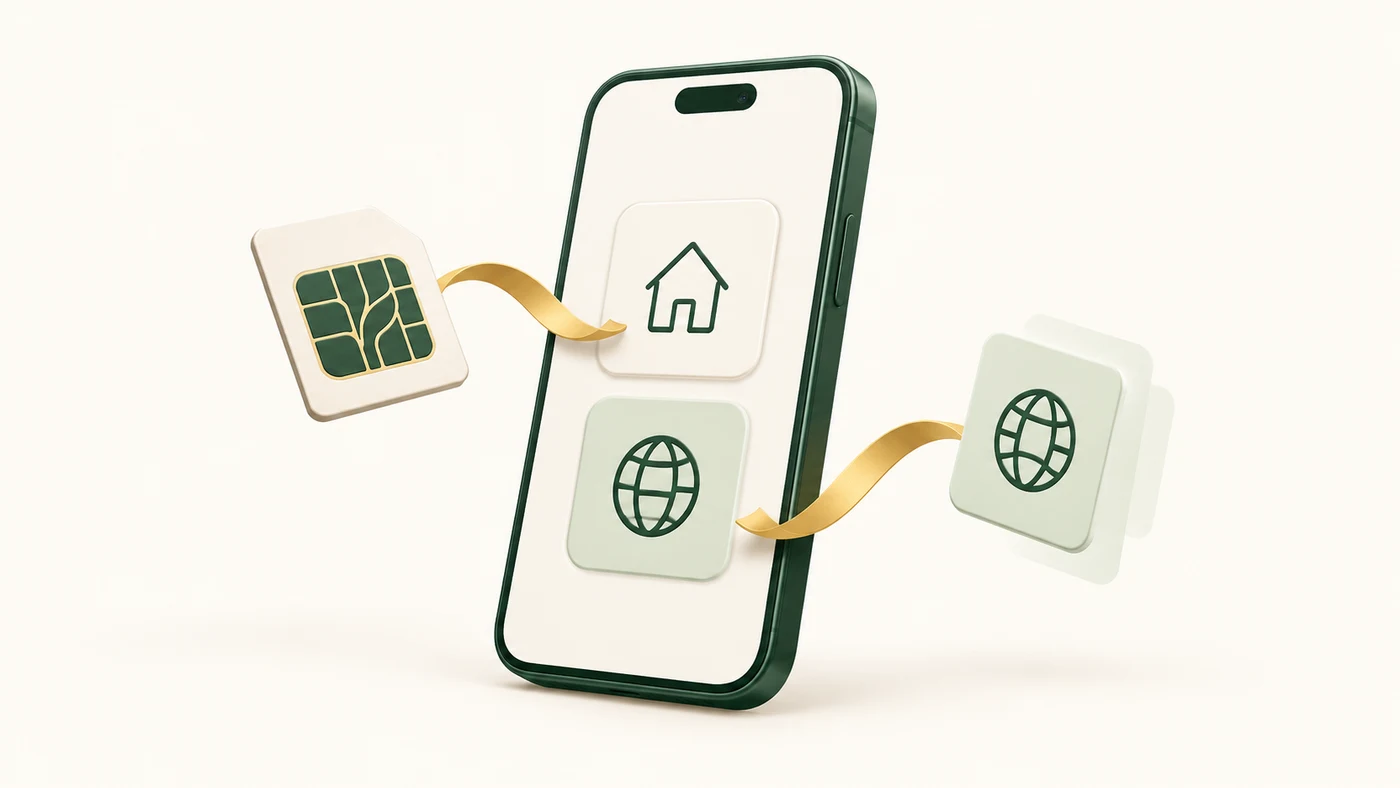
Choose the travel eSIM for mobile data. Turn on roaming for that line only when your plan's instructions require it. Review roaming on the home SIM and turn off automatic mobile-data switching where available to reduce the chance of using the wrong line.
You can usually keep your existing number and messaging account while using the travel line for data, subject to device support. This does not remove your home operator's charges. Follow any supplied APN or network instructions, then test a small task such as loading a map. Coverage and speed depend on the plan, device and local conditions.
5. Travelling together: prepare each device
Each compatible device needs its own suitable eSIM profile; a profile is not a shared family login or a QR code to install repeatedly. Check each phone separately. Hotspot can help other devices only where the plan and device permit it.
HeyToco! Credit and invitations can make future eligible purchases more useful for people travelling together. The invited person must add the invitation before their first purchase. Both can qualify for credit after the invited person's first eligible activation and the required paid threshold after discounts and credit. Current rewards, thresholds and conditions appear in the app.
- Credit belongs to its account: it cannot be transferred or withdrawn as cash.
- Self-referrals and reciprocal invitations are not permitted; refunds or disputes can reverse rewards.
- Check the minimum order and checkout rules. Credit and a discount code cannot be combined.
6. If connection does not work
First check the selected data line, destination coverage, plan state and remaining allowance. Follow the profile's APN and network guidance, and reconnect to Wi-Fi if you need help. A top-up is available only for an eligible existing profile and compatible offers; do not assume a replacement QR is required.
Do not delete the profile as a troubleshooting step: reinstalling may not be possible. Contact support with your destination, phone model and a description of the issue. Avoid sharing your activation code or QR in public screenshots. Keep the order reference available and check the applicable support and refund conditions rather than buying the same plan again while a payment result is uncertain.