
Maps at arrivals. A message to say you landed. Your next train. A travel eSIM can bring mobile data to a compatible phone without swapping a plastic SIM. Here is what to check before you go, and how to set it up with confidence.
Your first travel eSIM, one clear step at a time.A SIM, without the swap
A SIM gives a mobile network the credentials it needs to recognise your subscription. With an eSIM, those credentials arrive as a downloadable profile instead of on a removable card.
It is still a mobile service: an eSIM is not Wi-Fi and does not automatically give you a new phone number. Travel plans may be data-only, so check whether calls or SMS are included. Messaging and calling apps can use mobile data.
What happens inside your phone?
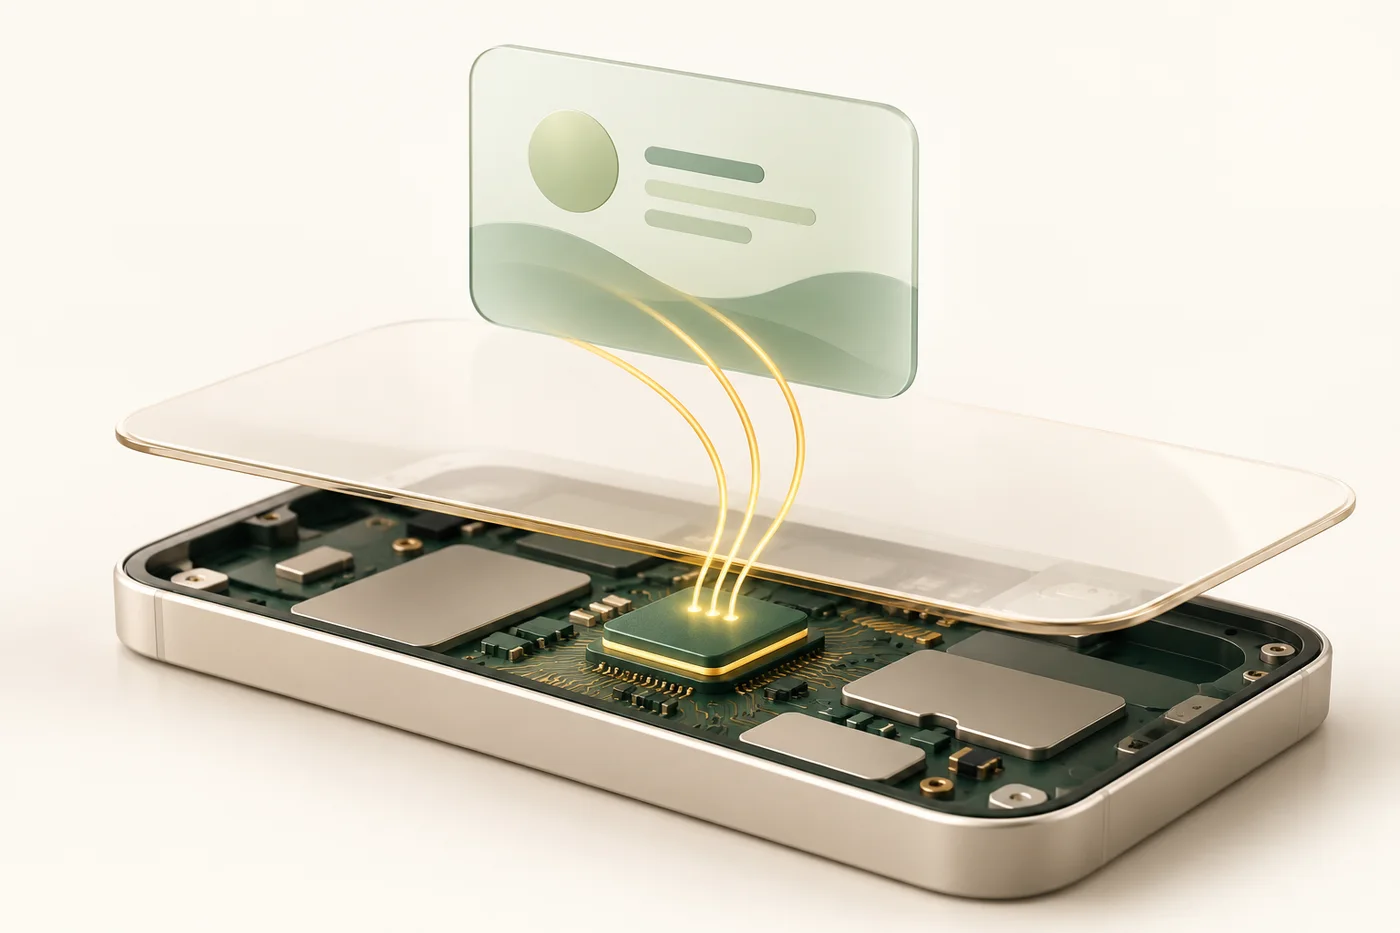
A secure component called an eUICC stores the profile on your device. Remote provisioning lets you download a provider’s profile over an internet connection. When enabled, it allows your phone to authenticate with a supported mobile network.
Some phones can store several profiles, but storage and the number of active lines vary. Coverage, speed and available network technology depend on your plan, device and local conditions.
eSIM-compatible phones: check your exact model
A familiar model name is a starting point, not a guarantee. Before choosing a plan, confirm eSIM support for your exact model and the market where it was sold. Your phone must also be unlocked to use another provider.
Look for an option to add an eSIM in settings, then check the manufacturer’s guidance below. These families are examples; the list is not exhaustive.
Three device families to check
Apple iPhone
iPhone XS, XS Max, XR and later models may support eSIM. Regional variants differ, so verify your exact phone.
Check Apple’s eSIM guidanceGoogle Pixel
Pixel 4 and later phones support eSIM. Check that your phone is unlocked and that the provider supports your device.
Check Google Pixel compatibilitySamsung Galaxy
Selected Galaxy S, Z and other models support eSIM. Regional versions and operator support can differ.
Check Samsung’s eSIM guidanceInstall your eSIM, step by step
Use a stable internet connection; Wi-Fi is recommended. Read when your plan starts before installing. Installation downloads the profile; activation starts the plan under its own rules; connection needs a supported network. Menu names vary with software and language.
Display the QR code on another screen, use installation from HeyToco! on your phone if available, or enter manual details if provided.
iPhone
Settings → Cellular / Mobile Service → Add eSIM → Use QR Code
- Open the installation instructions supplied with your plan.
- Scan the QR code and follow the prompts to add and label the line.
Google Pixel
Settings → Network & internet → SIMs → Add SIM → Set up an eSIM
- Choose the eSIM setup option and follow the on-screen instructions.
- Scan the supplied QR code when prompted, then label your travel line.
Samsung Galaxy
Settings → Connections → SIM manager → Add eSIM → Scan QR code
- Open SIM manager and choose to add an eSIM.
- Scan your plan’s code and follow the prompts to finish.
Choose the right line when you arrive
Select your travel eSIM for mobile data. Enable data roaming on that line only if the plan instructions require it. Review your home SIM’s roaming settings and disable automatic mobile data switching where available to help avoid unwanted charges.
Follow your profile’s instructions for APN settings and recommended networks. If you cannot connect, check coverage, remaining data and line selection, then reconnect to Wi-Fi and contact support. Do not delete the installed profile as a troubleshooting step; reinstalling may not be possible.